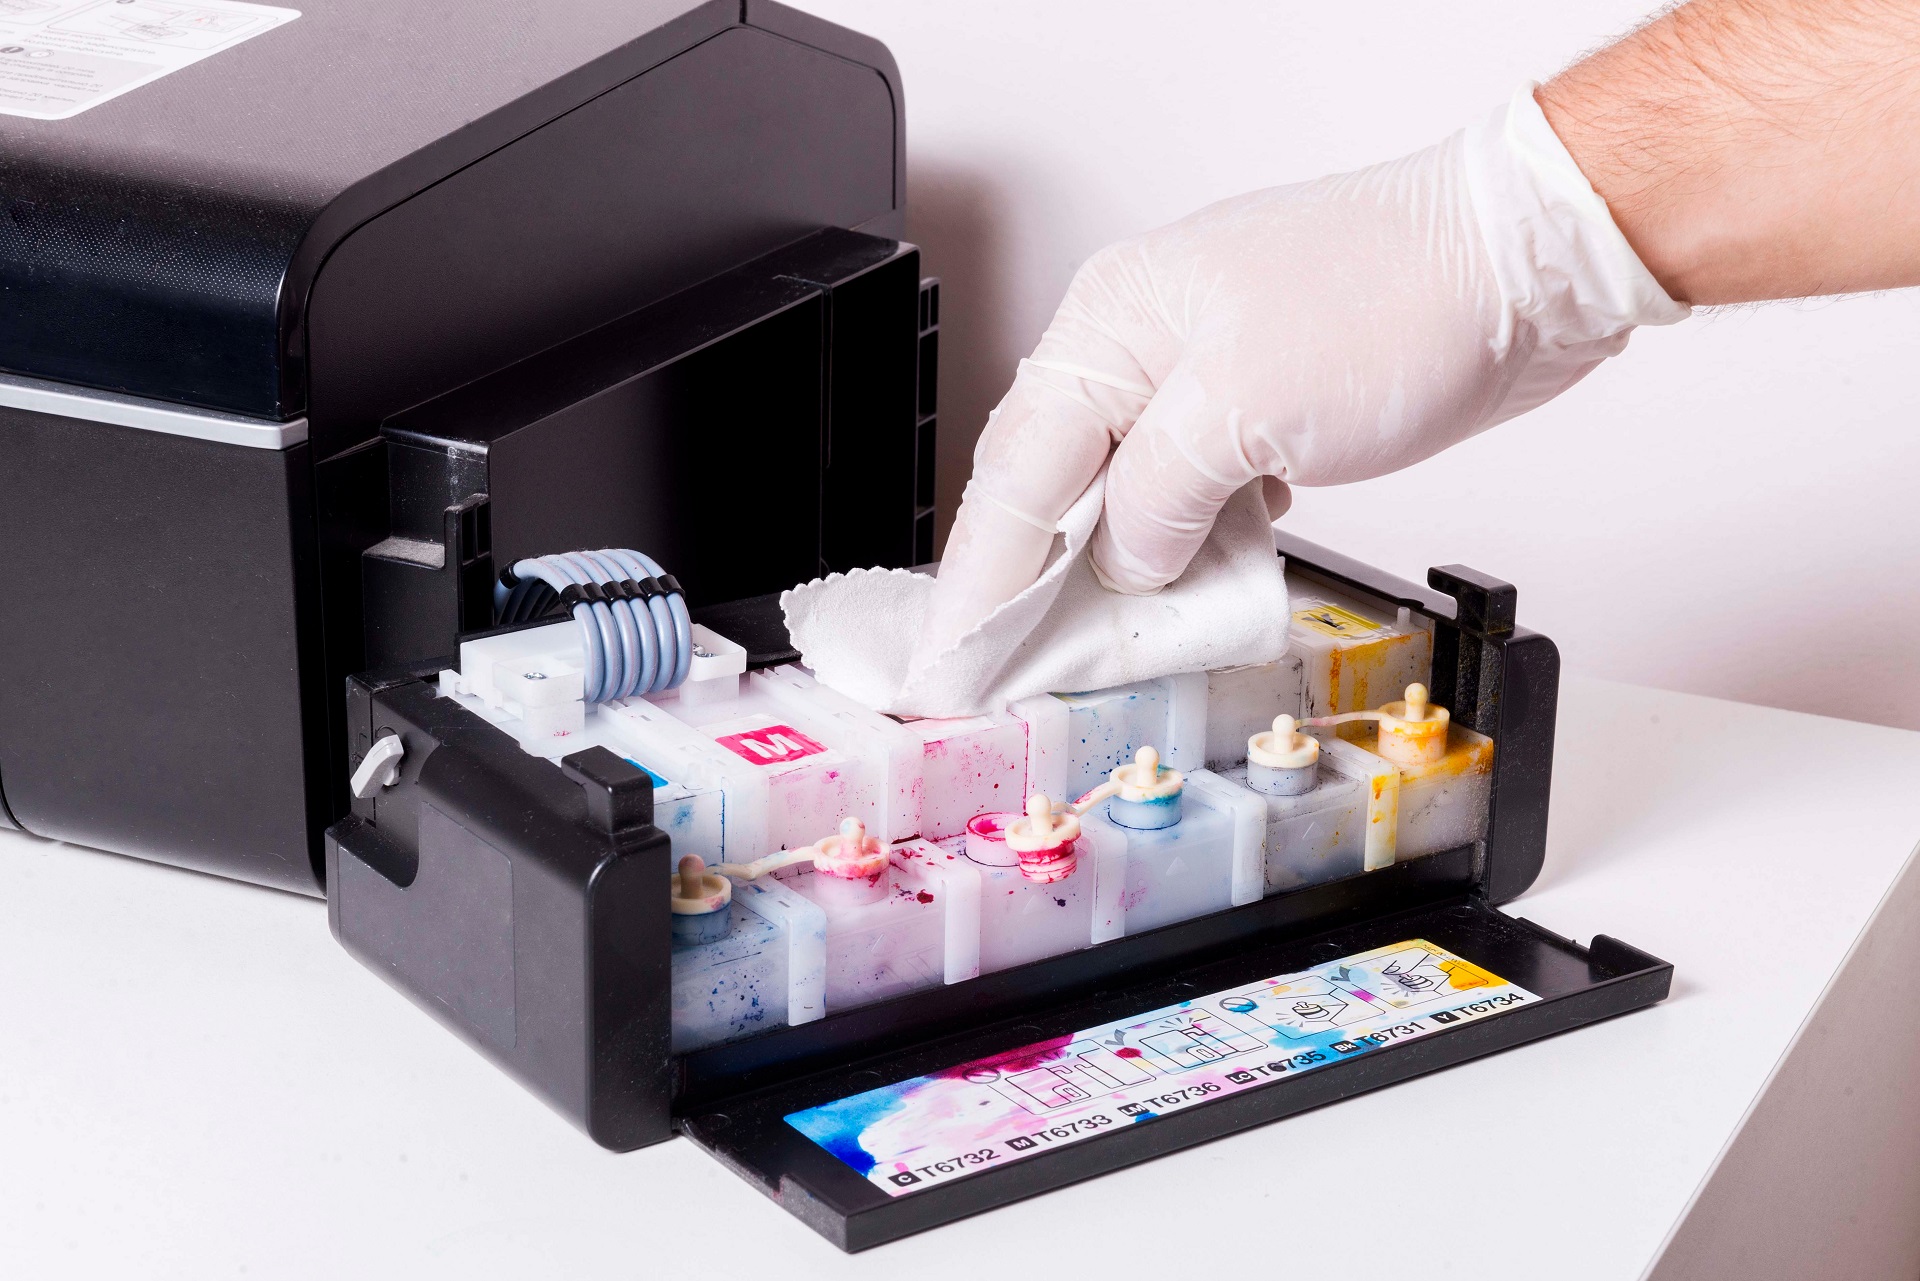
If you own an inkjet printer then you are probably familiar with the problem of dried ink. You usually notice this you urgently need to print something after the printer has not been used for a long time. Instead of the expected text or graphics, strange stripes or stains appear on the sheet of paper after printing. The only way to fix this is to clean the printer, specifically the printer head and the nozzles, which are probably clogged with dried ink.
If you own an inkjet printer then you are probably familiar with the problem of dried ink. You usually notice this you urgently need to print something after the printer has not been used for a long time. Instead of the expected text or graphics, strange stripes or stains appear on the sheet of paper after printing. The only way to fix this is to clean the printer, specifically the printer head and the nozzles, which are probably clogged with dried ink.
Read our guide and find out how to clean your printer. It’s worth noting that in many cases this process directly interferes with your printer, and the hardware configuration options among the variety of printers available on the market is enormous. This makes it impossible to predict each and every individual situation. Cleaning your printer is therefore at your own risk, and in case of any doubt you should consult a computer repair shop for help.
- Dried ink in the printer
- Cleaning printer heads
- Cleaning an HP printer head
- Cleaning a Brother printer head
- Cleaning an Epson printer head
- Cleaning printer nozzles – cartridges with an integrated printer head
- Cleaning printer nozzles – printer heads that are separate from the cartridges
- Cleaning inkjet printers – summary
Dried ink in the printer
A common opinion among printer users is that if the ink dried slower you wouldn’t have to clean the printer heads and nozzles so often. On the one hand this is true, but on the other hand the printed material would not be ready so quickly. So its probably fair to say that the ink properties have been optimally selected for regular use.
However, if you have not used your printer in a long time, then you should probably expect the issue of dried ink in the printer. If your printer uses cartridges integrated with the printer head, then in addition to cleaning you can simply replace the cartridge with a new one, without incurring any significant costs.

Cleaning printer heads
Its a bit more tricky in the case of a printer where the printer head is a fixed component. In such cases, replacing it might cost nearly as much as buying a new printer, so cleaning it is the only viable solution. The process of cleaning the printer head should be initiated regularly from the operating system, using the driver functions installed on the hard drive of your computer.
It would be good to use a printer head cleaning kit in such cases, with cartridges filled with cleaning fluid instead of standard ink cartridges. However, make sure that the fluid is appropriate for your specific type of printer, because a fluid dedicated to piezoelectric heads, for example, can cause serious damage to thermal heads.
If the ink is very dry, for example if you have not used the printer for a very long time, then you could try to clean the nozzles with a nozzle cleaner. Although disassembling the head is extremely easy, you should do it very carefully, as in case of any damage you will need to replace the entire printer. We’ll cover this in more detail later in our guide.
Cleaning an HP printer head
HP printers are among the most popular printers on the market. Cleaning the printer head in these printers can take a while, and the process will also consumes some ink. Initiate cleaning from the control panel of your computer’s operating system and place a clean sheet of paper in the paper tray. Then press and hold the power button. At the same time, double-click “Cancel” and then click “Resume”. Then release the power button and wait for the cleaning process to finish and print a test page.
You can also clean the HP printer head from the HP service center. To do this, press the “Start” button in Windows to open the menu, select “All programs” – “HP solution center”. Then click “Settings” – “Printer Toolbox”. Finish off by choosing the “Device Services” tab and click “Clean Printheads”.
After selecting the last option, the cleaning of the printer head will start, and then you simply have to follow the instructions on your screen. As in the previous example, also here after the process is finished a test page will be printed.
Cleaning a Brother printer head
In the case of Brother, cleaning the printer head is extremely simple. Each device has an automatic printer head cleaning function that initiates itself when the printer is not being used. This process uses some ink, so you might want to make sure the right frequency of this process is set. In addition, cleaning can also be performed manually from the printer itself, using the control panel, or initiated from your computer system.
If this doesn’t work correctly, you should contact the customer service department.
Cleaning an Epson printer head
The process is slightly different in the case of Epson printers. Here cleaning of the printer head is initiated each time the device is turned on. Therefore, it could be a good idea to switch off the printer at night, so that preventive cleaning takes place when you switch it back on. In addition, we recommend printing at least one colour page per week, as this will significantly reduce the risk of colour ink drying up.
However, if for some reason this is not enough, manual cleaning will be necessary. To do this remove the printer head and use distilled water to saturate the sponges on which the printer head stops and the excess ink is collected after switching off. Then install the printer head back on the printer. Once you have finished, wait about 15 minutes and you can start the device. Check the effectiveness of the cleaning process by printing a page in colour.
Cleaning printer nozzles – cartridges with an integrated printer head
Now that you know the causes and consequences of dried ink in the printer, its time to have a look at methods to clean clogged nozzles. Let’s start off with printers that use cartridges integrated with the printer head. As mentioned earlier, this operation is relatively easy, but any mistakes could result in the need to buy a new ink cartridge. So how can you clean clogged printer nozzles?
First, make sure you are properly prepared. You will need: printer head cleaning fluid, cotton pads, a syringe or dropper, as well as an appropriately sized plate and paper towels. When you have everything ready, you can take out the cartridge. Soak the cotton pads in printer cleaning liquid and put them on a plate. Then place the previously removed ink cartridge on them so that the nozzles are touching the wet pads.
After about 30 minutes, dry off the wet parts of the cartridge by wiping them with dry cosmetic pads or paper towel. After cleaning it in this way, put the ink cartridge back in the printer and print a test page to make sure the process was successful.
The above method may turn out to be insufficient in the case of a larger amounts of dried ink. In such cases use liquid designated for unclogging printer heads, applying a layer of about 2 mm. Then immerse the previously removed cartridge so that the nozzles are submerged in the liquid. Make sure that the printer head cleaning fluid does not touch the plastic parts of the ink cartridge, as this could damage them. It is best to therefore hremove any excess fluid using a syringe or a dropper.
After some time, but no more than 12 hours, remove the ink cartridge from the liquid, dry it and install it in the printer. Print a test page to check if the cleaning process was successful. If not, then we recommend the following method as a last resort.
Remove the cartridge from the printer and place it on a paper towel with the nozzles facing up. Using a syringe or a dropper, apply a few drops of printer cleaning fluid to the nozzles. Then wait about 15 minutes for it to soak into the cartridge. Once ready, install the cartridge back in the printer and print a test page. If everything goes according to plan, remains of dried ink and fluid should appear on the piece of paper.
Cleaning printer nozzles – printer heads that are separate from the cartridges
As in the case of cartridges with integrated heads, cleaning nozzles in printers with separate printer heads can be performed in three stages. It all depends on how clogged the nozzles are. However, in order to clean them, you will need to remove the printer head and the cartridges. Once again, remember to make sure you do not damage the printer head during disassembly. Buying a new printer head may sometimes even exceed the price of a new printer.
So lets go into the details. Just as before, also this time we will need: printer head cleaning fluid, a plate, a syringe or dropper, and kitchen towel.
Start off by pouring the fluid onto the plate, and then soak the printer head in it for a maximum of 12 hours. Of course remember that the nozzles should point downwards, letting the dried ink get soaked with the fluid. Then wipe the cartridge with a kitchen towel to dry it off, install the printer head together with the cartridge and print a test page. This should help in simple cases, but if it doesn’t, then go to the second stage.
This stage consists of using the cleaning fluid to unclog the printer heads by using a syringe or dropper and very slowly pouring it into each of the nozzles placed on the kitchen towel. Keep doing this until it starts flowing from the other side, and repeat this process until the fluid flowing out is free from any colour, i.e. it is completely clean. Then, as usual, reassemble the printer head in the printer and print a test page.
If this method doesn’t do the trick, then there is one for option. It combines the above mentioned methods and is recommended in the most stubborn cases. Do everything mentioned in the second stage, and then, just like in the first stage, soak the printer head in fluid for 12 hours and then rinse it again as in stage 2. After installing the printer head and ink cartridges, print a test page.
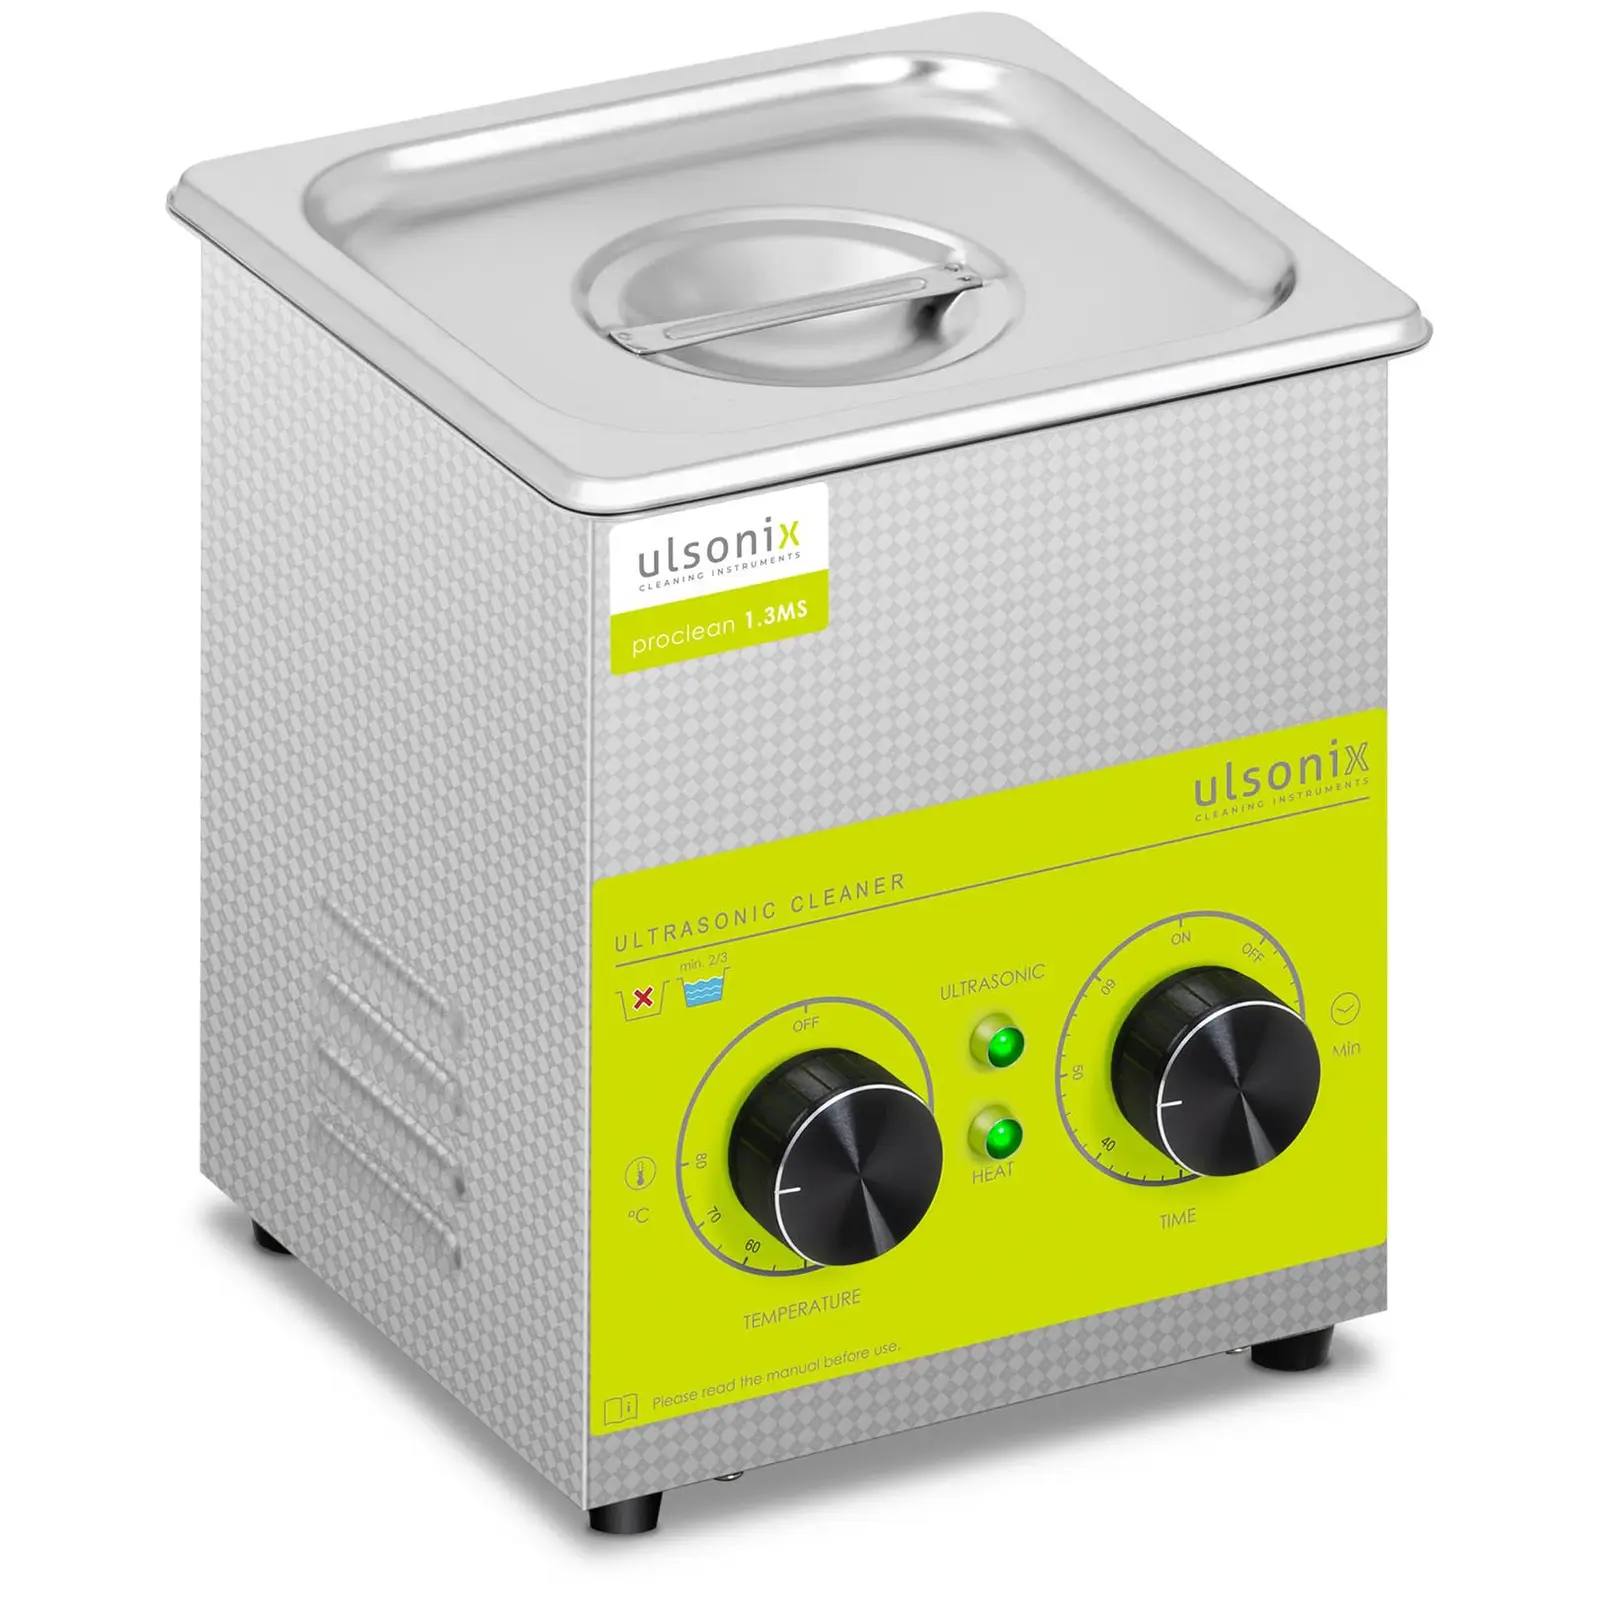
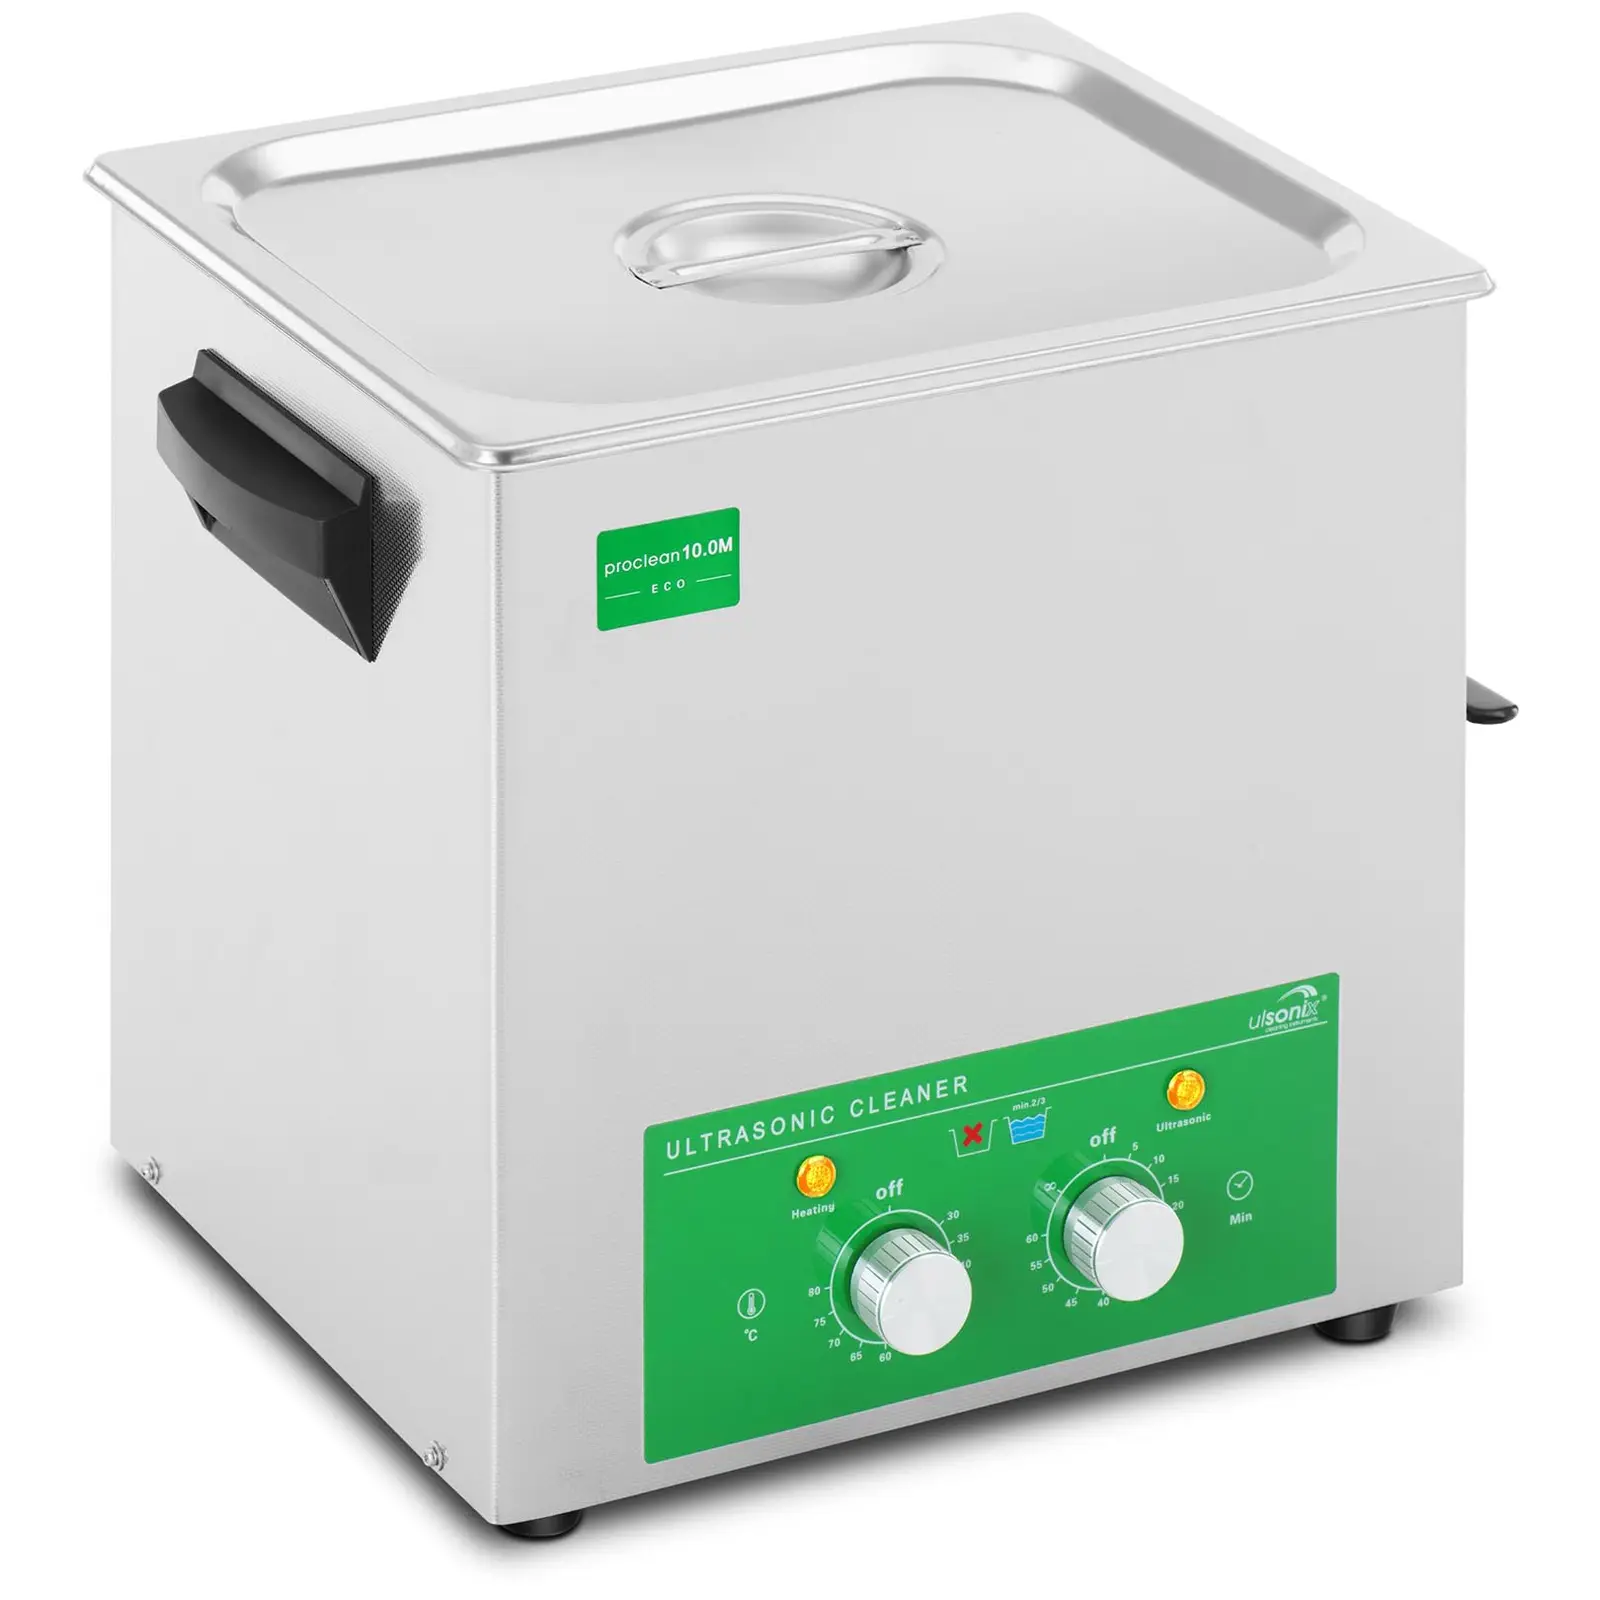
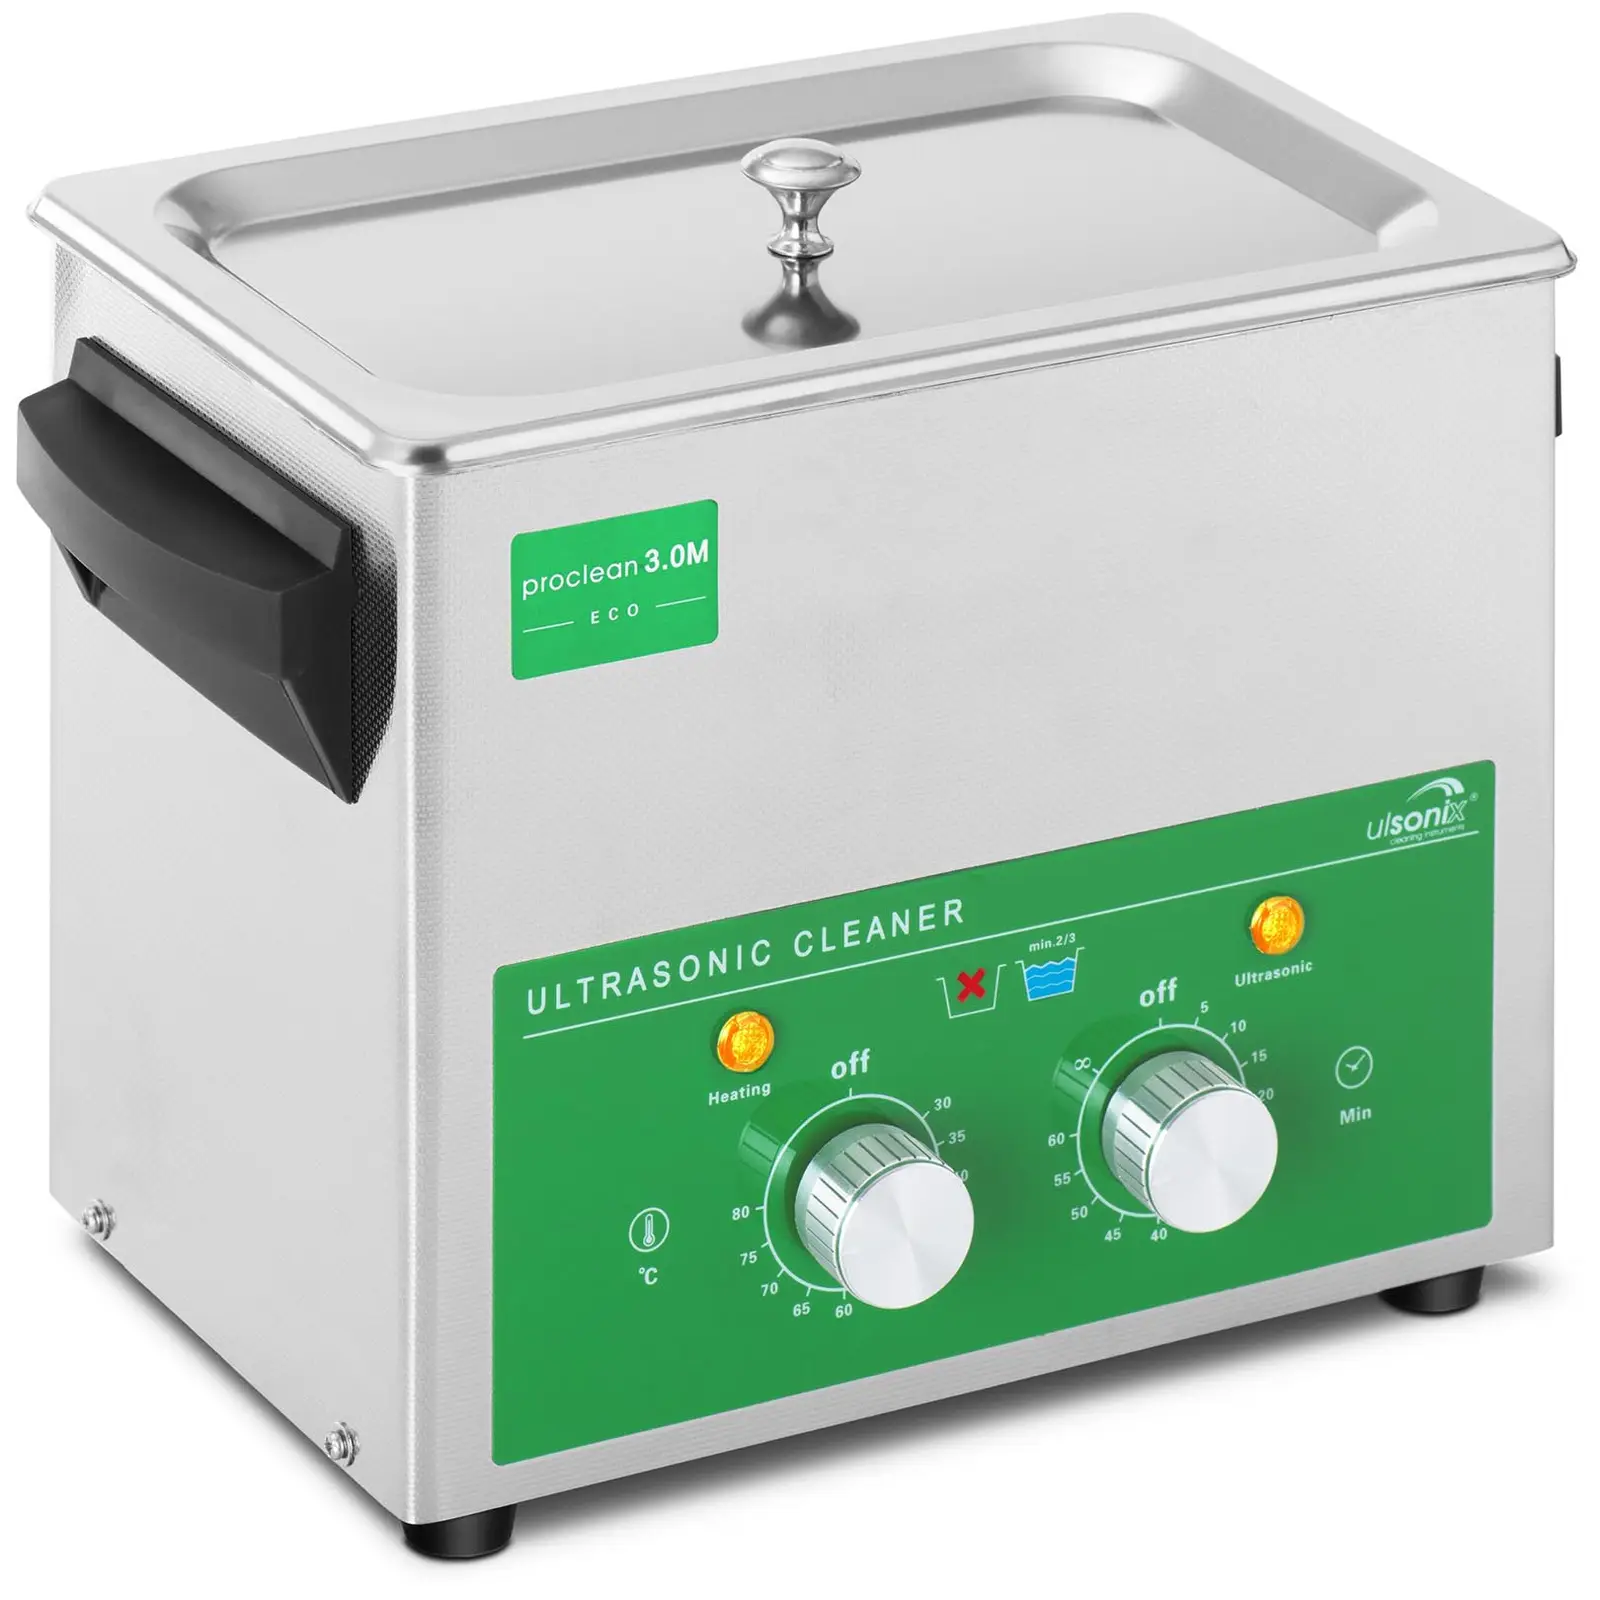
If all the above methods prove unsuccessful, then we recommend you go to a computer repair shop for professional cleaning. Many such shops have specialised devices, such as ultrasonic cleaners using the principle of cavitation, that perfectly clean all types of dirt, even in hard-to-reach places. As a last resort, you might need to buy a new printer
Cleaning inkjet printers – summary
Printers are computer peripheral devices that require regular preventive maintenance. Dried ink is not only annoying is situations when you urgently need to print an important document, but can also mean you need to buy a new printer. Cleaning the printer, or rather cleaning the printer heads and unclogging the nozzles, is not the most difficult of tasks, but should be done with great care and using appropriate cleaning materials. In case of any concerns related to the risk of permanent damage, it is best to consult a professional for help.


Share