Chocolate is usually high on the list of pleasures for those of us with a sweet tooth. Both children and adults love it, and anyone can choose the type they like best. Chocolate is also a great ingredient of many desserts and cakes, and in some cases you even can't go without it. Thanks to its specific properties, it can relatively easily be melted and used, for example, as a cake topping.

Chocolate is usually high on the list of pleasures for those of us with a sweet tooth. Both children and adults love it, and anyone can choose the type they like best. Chocolate is also a great ingredient of many desserts and cakes, and in some cases you even can’t go without it. Thanks to its specific properties, it can relatively easily be melted and used, for example, as a cake topping.
Tempering chocolate
In addition to making toppings, melting chocolate is also a step in the tempering process. This process, in turn, gives it the desired hardness and shiny finish, and also significantly reduces the risk of it melting in your hand. Tempered chocolate is used for all the chocolate products you can buy in shops. Chocolate bars, biscuits or cakes – just to mention a few examples.
Tempering is the process of completely melting the chocolate, then cooling it, and then reheating it – but this time to a lower temperature. There are various methods of tempering chocolate, the simplest being to cool it by adding unmelted chocolate pieces.
Of course, during the process you must stick to certain temperature ranges (for both heating and melting), depending on the given type of chocolate. Tempering should therefore be strictly controlled, so using a confectionery thermometer is highly recommended. A meat thermometer should also do.

How to melt chocolate?
Before going deeper into this topic, it should be noted that there are several different methods of melting chocolate. And although each of them is completely different, in effect they should all give us the same final product. Depending on the method you choose you will of course need the appropriate equipment and, with some methods, additional ingredients.
Melted chocolate can also be a great way to spice up all kinds of events, such as weddings, banquets, etc. There are even special catering devices, such as chocolate fountains, which are designed not only to melt the chocolate, which can be done by the guests themselves, but also fulfill additional decorative purposes.
But this is not the only way to melt chocolate. So let’s have a look at the different methods.
A water bath
By far the most popular method in this case is a chocolate water bath. The process consists of pouring a little bit of water into a pot (about 1/3 of its capacity) and bringing it to the boil. Then put crumbled or broken pieces of chocolate into a metal bowl, keeping in mind that the diameter of the bowl should be larger than the diameter of the pot. The next step is to put the bowl of chocolate on the pot of boiling water, making sure that the bowl itself does not touch the surface of the boiling water.
The water vapour will make the chocolate start to melt in the bowl, and all you have to do is stir it from time to time, waiting until it totally melts. You can then take the pot off the heat source and cool the liquid chocolate. With this method you must make sure that the inside of the bowl into which you throw the chocolate pieces is completely dry, and that the entire process is carried out on a low heat.
Also, you shouldn’t start mixing the chocolate until the final stage of melting, as stirring earlier than in the liquid phase may cause the chocolate to separate. Therefore, the smaller the pieces of chocolate, the faster it will melt.
When preparing the water bath, you could also add 1 tablespoon of oil to the chocolate, which will make it have a shinier finish. Some recipes also suggest adding a little butter or cream. Put any additional ingredients into the bowl at the same time as the chocolate, allowing them to melt together.
Melting chocolate in a microwave
Using a microwave oven is probably the easiest way to melt chocolate. With this method, put the chocolate, as finely crumbled as possible, into a glass bowl, and then put it into the microwave. Using the medium power setting and a heating time of about 1 minute, let the chocolate start to melt.
Then take the bowl out, mix the chocolate for a bit, and put it back in the microwave. Repeat this several more times, but reduce the heating sessions to no more than 20 seconds. This will make the chocolate shiny and smooth and free of any lumps. Too long heating may end up in burning the chocolate.

How to melt chocolate in a pot?
An alternative to a water bath is melting the chocolate in a pot. Although water vapour can burn your skin, with this method you should be able to avoid the risk. Crumble the chocolate into the smallest possible pieces and put it in the pot. As in the case of the water bath, use a low heat and mix regularly. In order to prevent the chocolate from burning, add a little bit of butter, milk or oil. Coconut oil would be great.
How to melt white chocolate?
White chocolate is a slightly different product than standard chocolate. It is made of milk, cocoa butter and quite a lot of sugar, and it is this last ingredient that makes melting white chocolate rather difficult. Sugar easily turns into caramel, so in order to ensure even heat distribution, white chocolate is melted in milk, which allows for a gradual change in its consistency.
How to melt chocolate in milk?
Milk can be used not only to melt white chocolate, but also dark and milk chocolate. However, you should stick to the right proportions, which in this case are 200g of chocolate per 5 to 6 tablespoons of milk. Once you have the necessary ingredients, pour the milk into the pot, add the crumbled chocolate, and then heat it, constantly stirring. The result will be a delicious liquid and shiny chocolate.
You can also melt chocolate in milk using the water bath method. Using this method you won’t need to constantly mix the ingredients, as the risk of burning is practically zero. The chocolate topping obtained this way will harden when dry, which is a result of both the quality of the chocolate and the amount of added milk.
How to melt chocolate as a topping?
All the above methods can be used to quickly prepare a melted chocolate topping. Therefore, once it sets it should be firm and crispy. The final product will be an ideal addition to desserts and cakes. In order to make sure it does not crumble or crack, for example when you are cutting a piece of cake, it should be enriched with appropriate additives. This was already mentioned earlier, but just to remind you – the above additives are milk, butter or oil.
Putting the topping on a cake
Once the topping is ready, it’s time to put it on the cake. Before you do so, the liquid chocolate should wait a few moments to slightly cool down. If it’s too hot, it could melt the cake. But don’t leave it too long, otherwise it will dry too quickly, potentially destroying the visual effect you are trying to achieve. Ideally, the cake should also be cooled before you add the topping, as this will help it set faster.
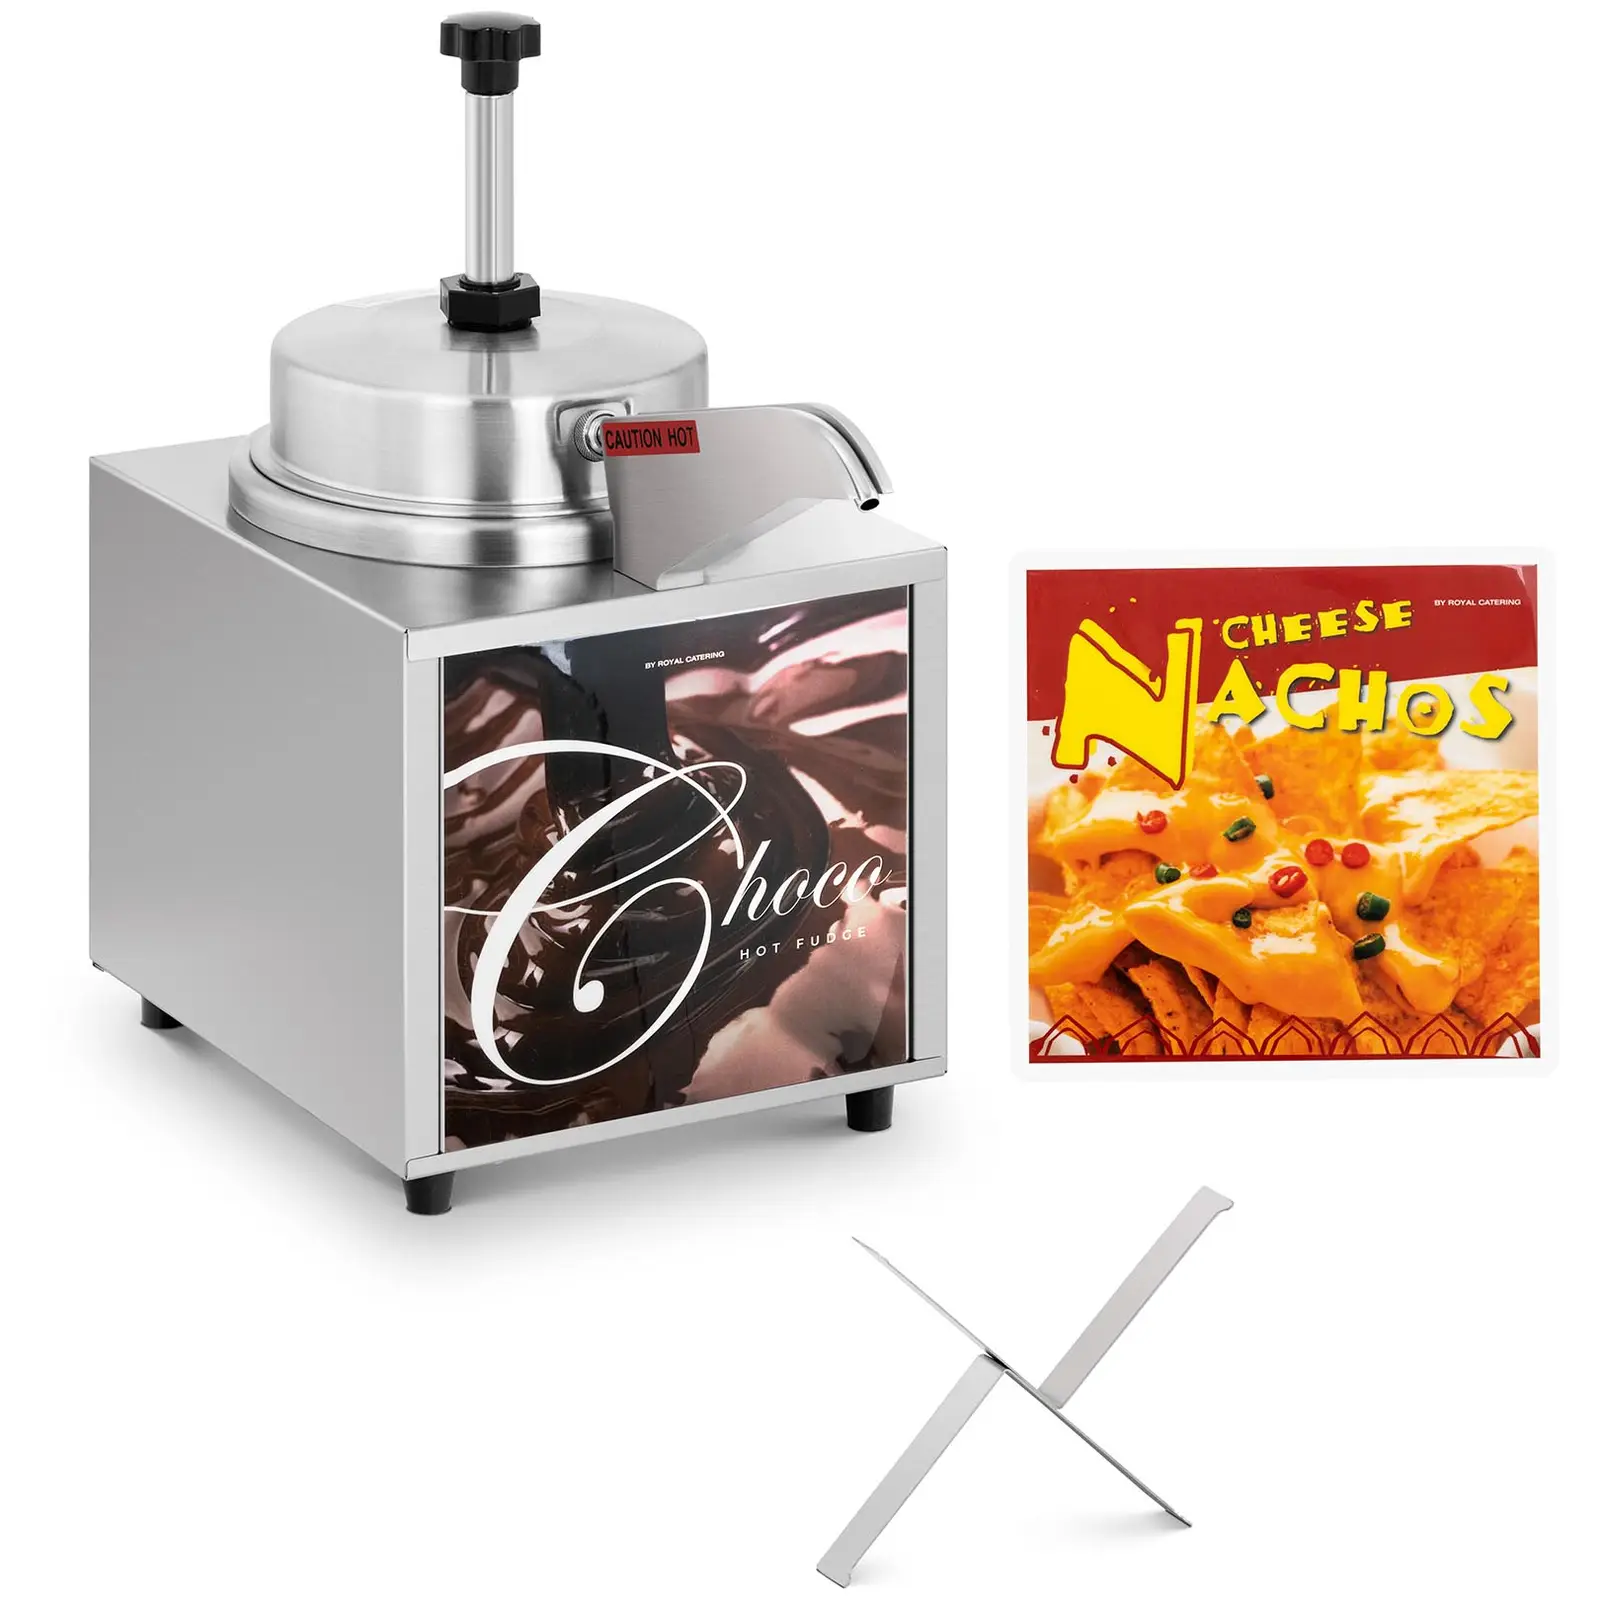
With the cake and liquid chocolate at the right temperatures, it’s time to start decorating. For this activity a hot chocolate dispenser would come in handy, as the heating function lets you melt the chocolate automatically.
Summary
Chocolate, as an all-round favourite, can be a great addition to cakes and desserts, as it matches the taste of virtually everything. Knowing the options you have with chocolate, as well as how to melt chocolate, you can prepare the perfect topping at home and charm your guests by serving such mouth-watering treats as fruit covered in chocolate


Share