A pellet machine (also known as a pelletiser) is used to produce pellets. The pellets are usually produced from wood, straw or sawdust and are pressed under high pressure. You can use them as fuel for your pellet furnace or as animal feed. From our article, you will learn how to properly service and operate the Wiesenfield WIE-PM-1000 pellet making machine.
A pellet machine (also known as a pelletiser) is used to produce pellets. The pellets are usually produced from wood, straw or sawdust and are pressed under high pressure. You can use them as fuel for your pellet furnace or as animal feed. From our article, you will learn how to properly service and operate the Wiesenfield WIE-PM-1000 pellet making machine.
How does a pellet machine work?
A pelletiser converts biomass, such as sawdust, into pellets in an efficient manner. Once the feedstock is poured into the hopper, it is compressed by a die inside the machine. The process takes place at a high pressure and a temperature of 60 to 80°C, which ensures an optimal pellet consistency. Its size depends on the die used. The diameter of its holes translates into the size of the pellets obtained.

How to use the Wiesenfield WIE-PM-1000 pelletiser
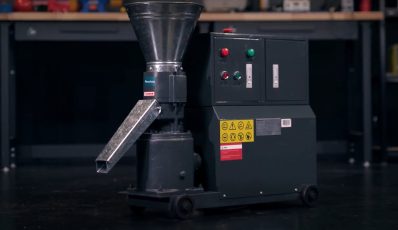
WATCH THE VIDEO ON HOW TO USE THE WIESENFIELD WIE-PM-1000 PELLET MACHINE!
Pelletiser Wiesenfield WIE-PM-1000
- Versatile – for the production of pellets from organic materials for heating and fertilising and feed for animals
- Efficiency – processes 200-300 kg/h of feed or 110-140 kg/h of wooden sawdust
- High power – 7500 W motor delivers 1140 rpm
- Durability – excellent pellet consistency thanks to an operating temperature of 60 to 80°C
- Intuitive – compact, mobile and easy to use machine on four wheels
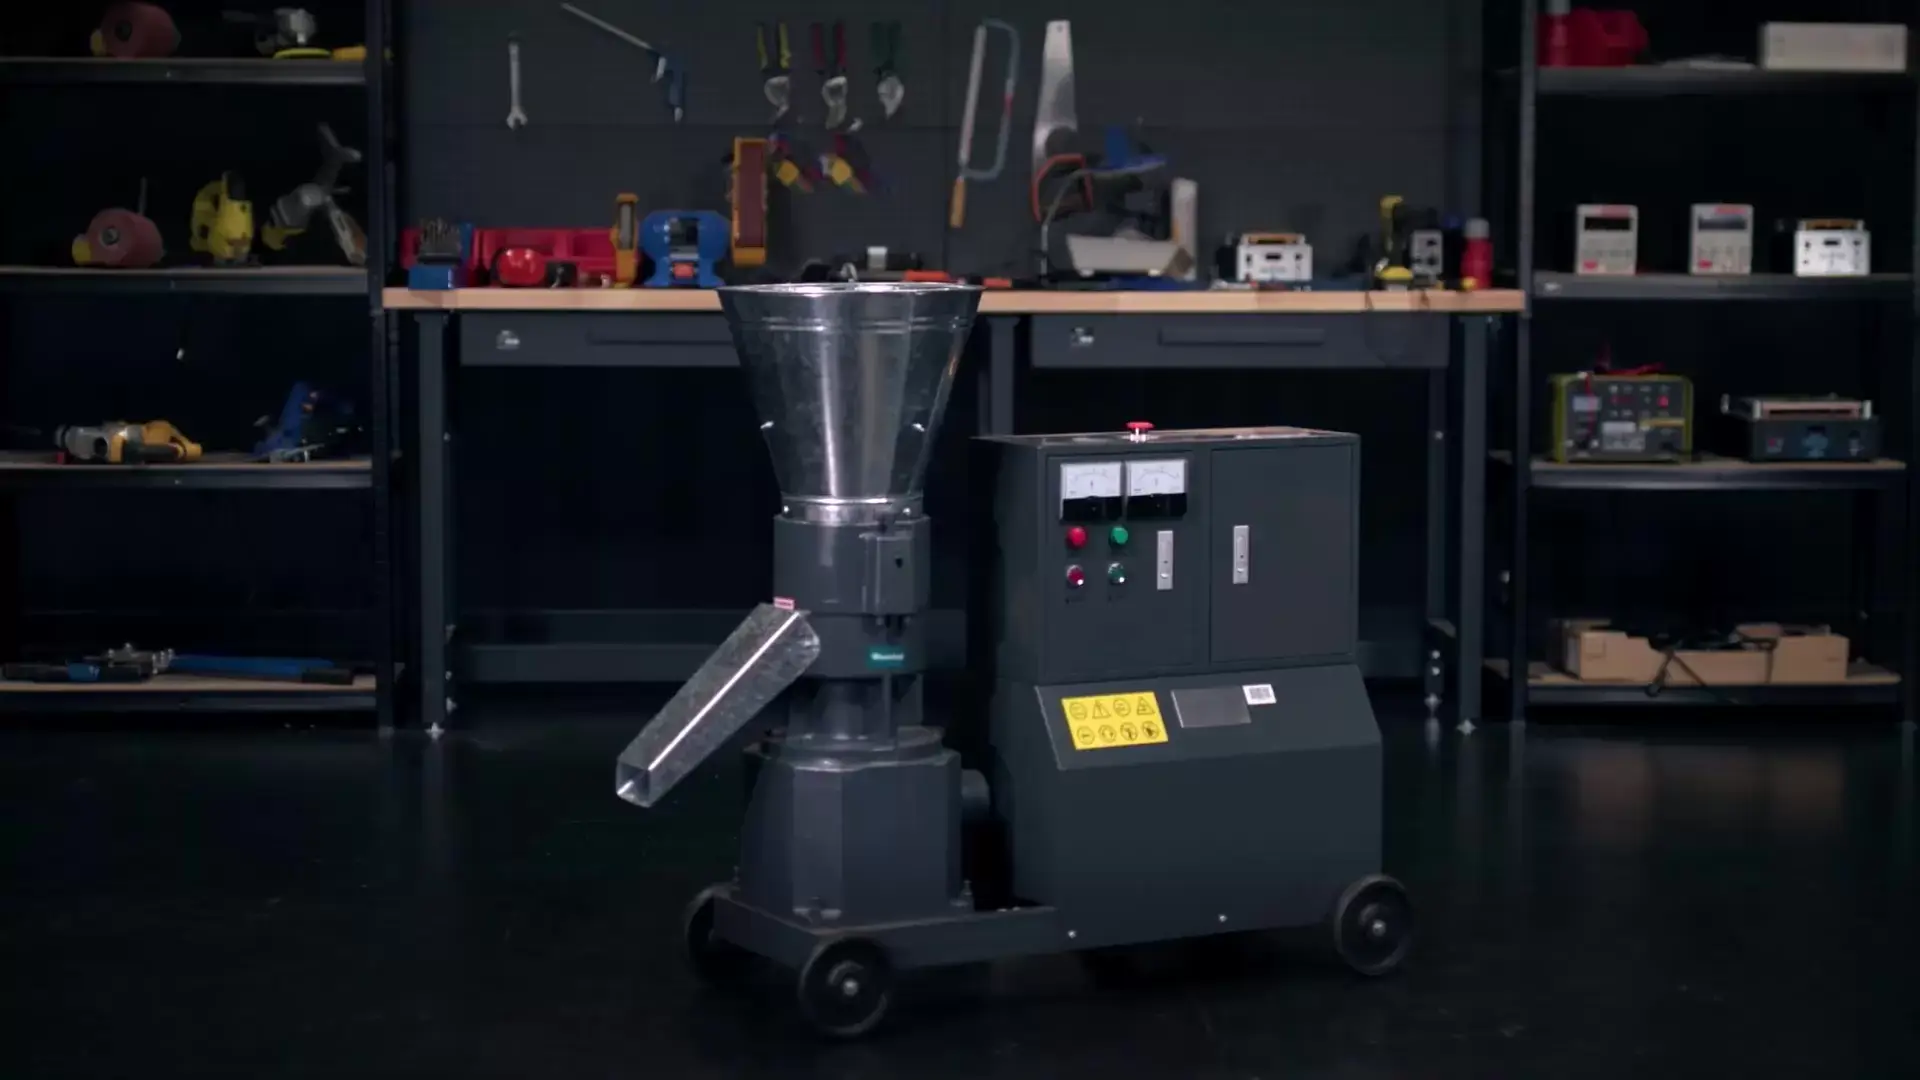
Pelletiser Wiesenfield WIE-PM-1000 – machine overview
ATTENTION: This article is intended as a guide to facilitate the use of the device. Before you start working, be sure to read the manual and the safety instructions contained in it!

Take a close look at all the components that make up the pellet making machine:
- Lubricant injection hole for the rollers and die
- Hopper
- OFF button
- Power indicator light
- Ammeter
- Work indicator
- Emergency stop button
- Voltmeter
- ON button
- Storage compartment
- Control box
- Wheels
- Gearbox
- Chute
- Oil filler cap (not shown)
Pellet making machine Wiesenfield WIE-PM-1000 – assembly of the device
Once you have unpacked your pellet machine, follow the steps below:
- Attach the wheels of the machine using M8X16 bolts and Ø8 mm washers.
- Attach the net to the hopper.
- Place the hopper on the machine casing and screw it on.
- Screw the chute on as well.
- Complete the electrical connection. WARNING: Remember that the connection should be made by a qualified person in accordance with the diagram in the manual!
How do I prepare the Wiesenfield WIE-PM-1500 for operation?
- Place the pelletiser in a safe, clean, stable place (away from heat and water) to ensure air flow.
- Make sure that the power supply to the appliance matches the data on the rating plate.
- Check that all screws and bolts are tight.
- Use the supplied grease gun to inject the bearing grease. Insert the tip of the grease gun into the grease injection hole.
- Make sure to grease the bearings with grease intended for this purpose.
- Repeat this operation after every 8 hours of operation of the pellet machine.
- Adjust the rollers to ensure free movement of the die.
- Top up the oil.
How do I grind the die before first use?
Remember to prepare the machine correctly before grinding the die (see above)!
- To grind a new die you will need:
- 5 kg of sawdust (sawdust or flour),
- 1.5 l of vegetable oil (can be used or dirty),
- 5 kg of fine sand (optional).
- Mix all ingredients in a bucket until a smooth consistency is achieved.
- Connect the pelletiser to the power source, then switch on using the ON button. The motor should start and the die should begin to rotate.
- Place the pellet container under the chute.
- Push the mixture through the die 80-90 times until the pellets meet the quality requirements.
How to start the Wiesenfield WIE-PM-1000 pellet machine – operating guide
Once you have the unit ready for use and the die grinded, you can proceed. Before using it for the first time or after replacing the die, always verify that the direction of rotation of the die is in line with the arrow (sticker on the casing). Proceed as follows in sequence:
- Prepare the mixture for pellet making – the maximum length of raw material should be about 5 mm.
- Connect the pelletiser to the power source, then switch on using the ON button. The motor should start and the die should begin to rotate.
- Place the pellet container under the chute.
- Pour a small amount of the mixture to be granulated into the hopper. If you throw in too large of a portion at once, the die may clog.
- Follow the same procedure until the prepared mix has been completely processed.
- When you are done, switch the machine off with the OFF button and unplug it from the power supply.
- Remember not to stop the machine while the pellets are being pressed (except for an emergency stop)! The machine may clog.
- Clean the machine so that no pellets are left on the rollers or in the die.
- Bear in mind that the pellets will reach the correct consistency only after they have cooled down.
Servicing the Wiesenfield WIE-PM-1000 step by step
Always ensure that the pelletiser is not connected to the power supply before carrying out maintenance.
Replacement/disassembly of the die
- Unscrew the top part of the casing connected to the hopper,
- Gently pull out the rollers and then remove the casing.
- You can use a drill to push through the holes in the die.
- Clean up any remaining material.
- Remove the retaining nut locking device.
- Unscrew the retaining nut using the spanner provided.
- When you remove the clamping nut, you will see the holes for attaching the holder. To remove the die, first screw the holder in with the two screws.
- Then slowly screw in screw 3, the die will begin to lift gently.
- Pull out the die.
- Clean the rollers of any remaining material.
- Clean or replace the die – remember to use only non-corrosive cleaning agents for cleaning.
- Clean the ventilation holes with a brush and compressed air. Make sure no water enters them.
- Dry the components thoroughly after each cleaning operation.
- When assembling, repeat the previous steps in reverse order.
Roller and die lubrication
Lubricate the rollers and the die with bearing grease after every 8 hours of operation.
- Use the grease gun provided to inject the grease.
- Insert the tip of the grease gun into the grease injection holes.
- Press on the handle of the grease gun to start the lubrication.
Oil change
Change the oil after every 60 hours of operation.
- Place the used oil container in a suitable place.
- Unscrew the oil tap (under the oil filler).
- Wait for the oil to drain.
- To pour fresh oil into the box, unscrew the oil filler marked “a”. Pour in the oil and then cap the filler.
- Measure the oil level and condition with a dipstick.


Share