Feeding birds in winter is not only good fun, but is also very noble. When winter hits in, birds struggle to find food in the wild, and without our help they will be much worse off. Today we will show you how to make a bird feeder - eagerly visited by hungry birds, and at the same a great decorative element for your garden, yard, terrace or balcony.
Feeding birds in winter is not only good fun, but is also very noble. When winter hits in, birds struggle to find food in the wild, and without our help they will be much worse off. Today we will show you how to make a bird feeder – eagerly visited by hungry birds, and at the same a great decorative element for your garden, yard, terrace or balcony.
Designing you bird feeder
Although the construction of a “bird diner” itself is not particularly challenging in terms of design, before starting work spend a moment considering all the different aspects you want your design to cover. This way you can be sure that it will not only be practical, but also fit in with your general landscaping design.
The first and most important thing to consider is determining which species of birds are you trying to help. Larger feeders will tend to attract larger birds, leaving smaller birds without a chance when competing for food. So, for example, if you want to feed tits, then it would be best to make a tit feeder.
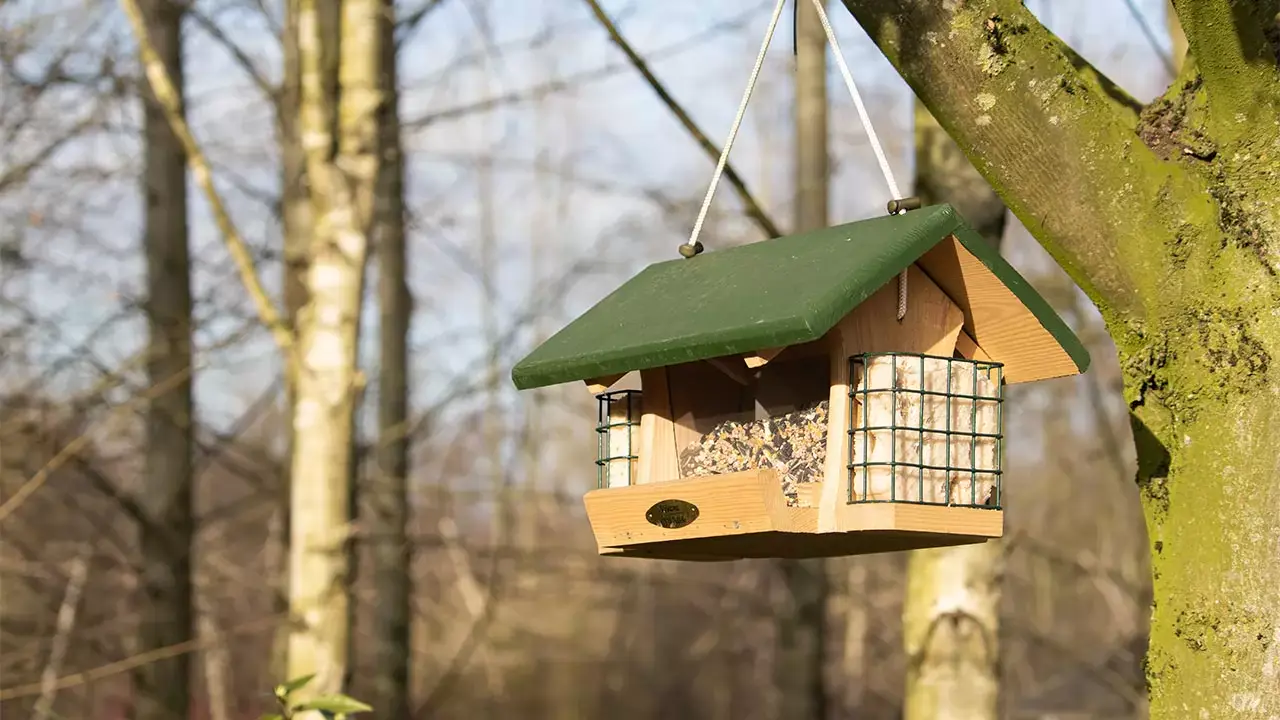
The second thing to keep in mind is where you will put it. Hanging bird feeders will be ideal for balconies or terraces. In the case of a garden, you could build a free-standing bird feeder, for example on a pole stuck in the ground, or attach one to a tree. Regardless of the above, it is important that the birds using it will not be at risk of being attacked by predators, or otherwise easily scared off.
Apart from knowing how to make a bird feeder, you should also be aware that it should, above all, be safe for them. So make sure you don’t leave nails sticking out, and that any sharp edges are carefully sanded, for example with sandpaper, or protected with veneer. An extremely important issue is also the roof, which will protect the food against rainfall, as well as the base with an elevated edge preventing food from falling out.
An interesting idea to follow could be feeders with walls that provide an effective protection against wind, or with detachable bases or pull-out drawers that make it easier to clean the base of any remains. This will allow you not only to efficiently keep the feeder clean, but also protect the birds from various diseases and parasites.
When designing a bird feeder, you must also remember that its structure, however solid, will sooner or later suffer the effects of changing weather conditions. For this reason you can protect it on the outside, for example with transparent linseed oil, which is natural and completely harmless for animals. However, remember that the inside of the feeder must always be left in the form of raw wood.
Apart from wooden constructions, you can also make a bird feeder from other materials, such as plastic bottles or cardboard boxes. In this case you are limited only by your own imagination and creativity when it comes to the shape and form you could choose.

Bird feeders – dimensions
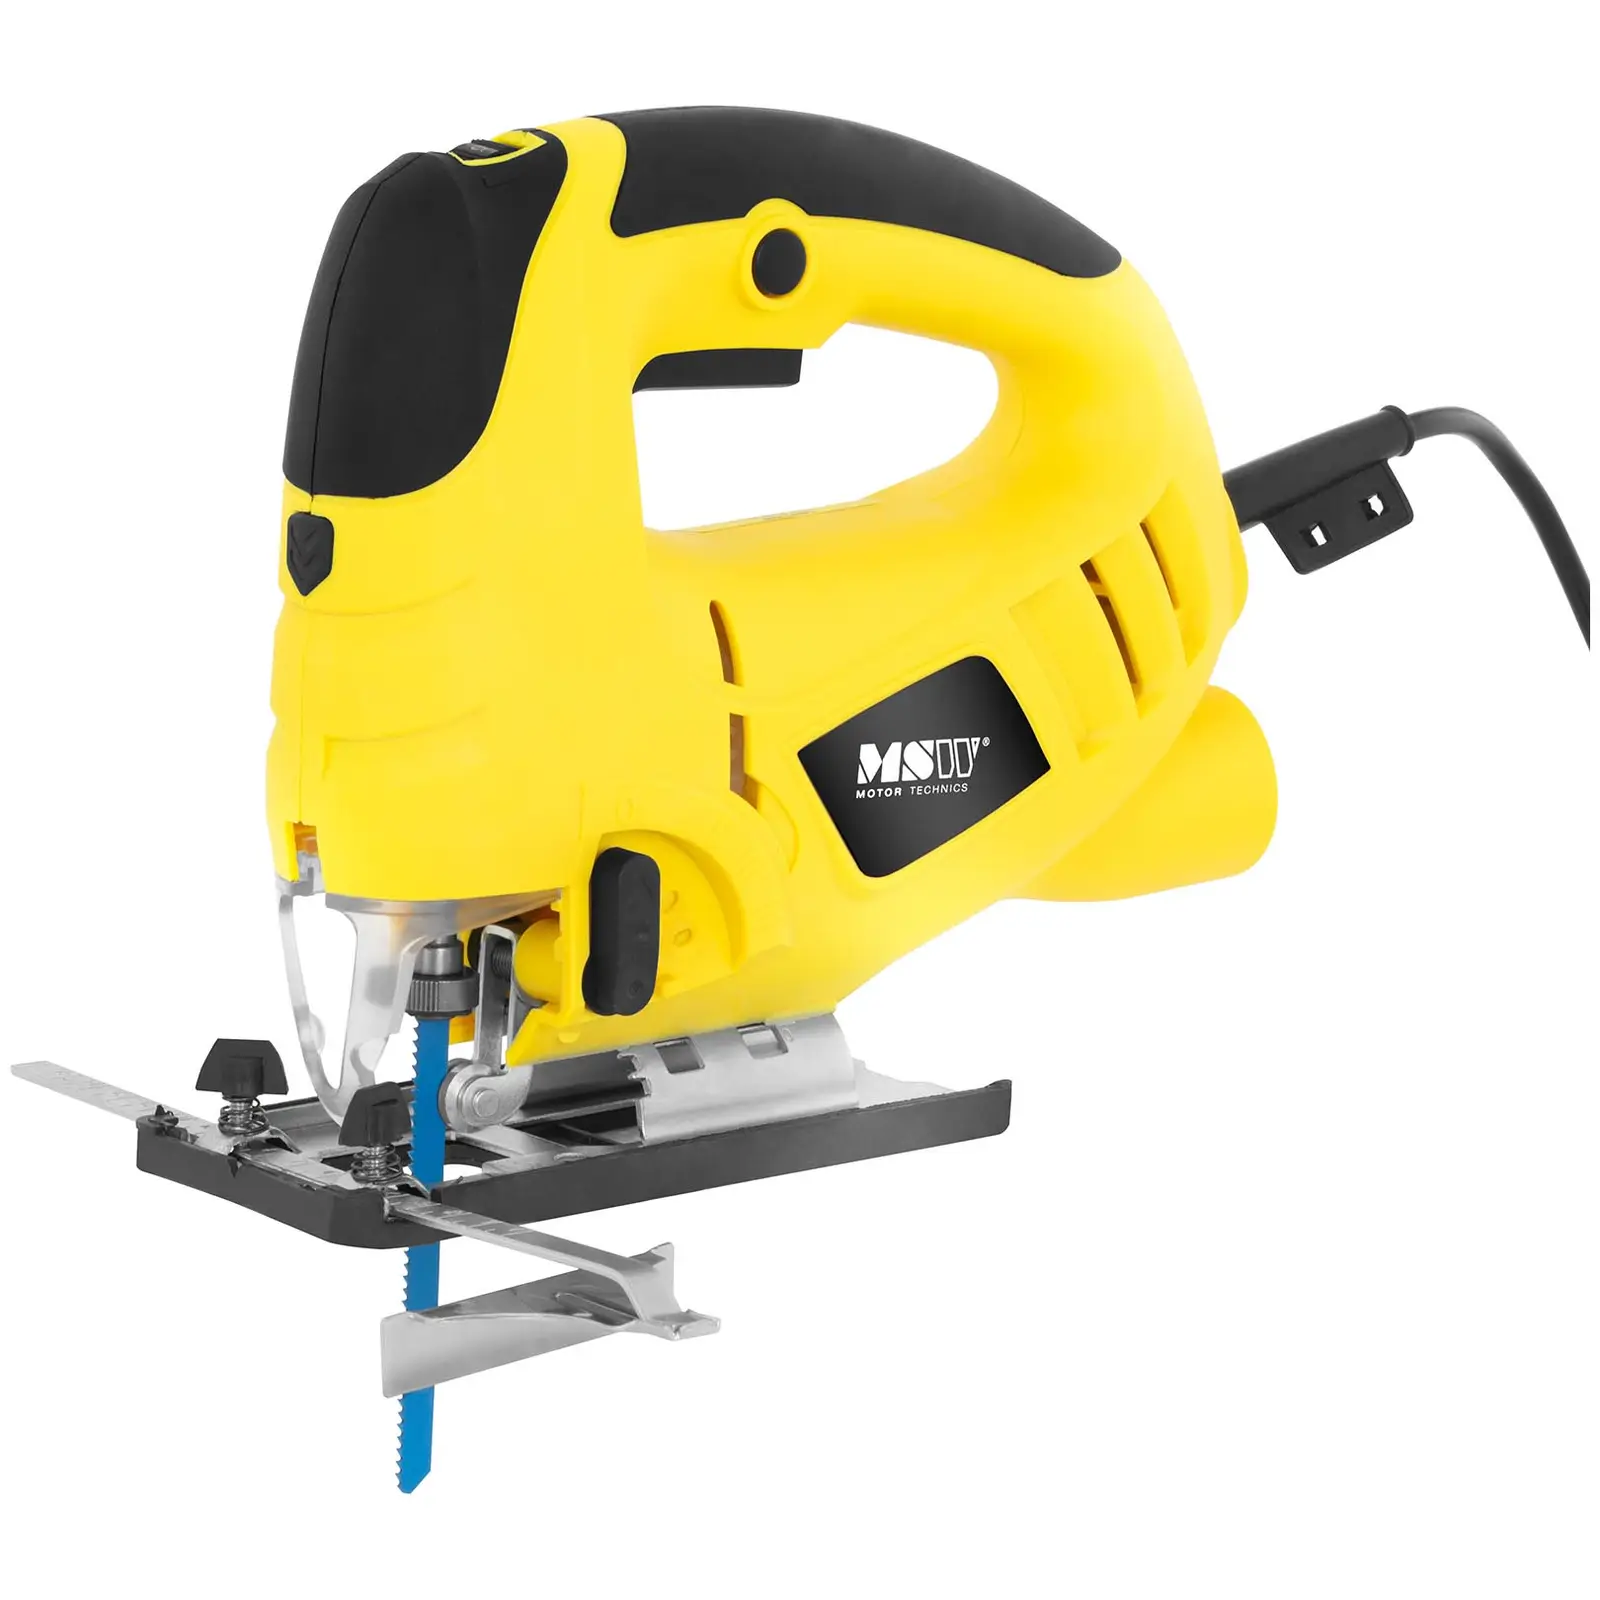
Now that you have prepared the design and understand the needs of our feathered little friends, and also know how to ensure their safety, the time has come to find out how to actually build a bird feeder. Let’s start with an example of the most popular design, i.e. a wooden structure with a gabled roof. A drill may come in handy here. In addition to power tools, you will also need components such as 3 wooden boards (1 piece for the floor, 2 pieces for the roof), as well as 8 pieces of square timber and 4 slats, both about 2 cm wide.
The exact size of the materials used depends on how big you want the bird feeder to be. So let’s assume that you have a wooden board with an area of about 30 by 40 cm to be used as the floor. Then choose two more boards with equal dimensions, the total area of which should be greater than the area of the floor, to be used as the roof. The total dimension of the roof boards must be greater than that of the floor board in order to give the roof the necessary slope. Ideally, the edges of the roof should form a kind of hood extending beyond the edges of the base of the feeder.
The next step is to prepare eight pieces of square timber. To do this, we would recommend 4 pieces each about 25cm long, and 4 pieces about 20cm long. Cut the ends that will be connected with the base at right angles, and the ends that will connected with the roof at 45 degrees. The length of the square timber not only determines the height of the feeder, but is also important with regards to the amount of space for the birds that use it.
Before joining the elements together, get rid of any roughness at the sawed ends using sandpaper. Once you have attached the most important parts of the structure to each other, you now need to finish it off so that bird food will not fall out of the feeder. To do this use the 2cm-wide slats, attaching them so as to form a border around the edges of the base.
Tit feeders
Tits are among the most common birds that will be visiting your feeder in winter. In spring and summer these birds usually feed on various types of insects, which in practice is very beneficial for the plants in your garden. Tits tend to quickly get used to being fed and will remember this fact throughout the year, frequently returning with the hope of a meal, in return getting rid of insects while they are there.
So why not look after your feathered little friends by building them their very own canteen. The easiest way to build a tit feeder is by using an empty plastic bottle. To do so you will need: a five-litre and half-litre plastic bottle, a wallpaper knife, scissors and some string. Start off by cutting a hole about 15 x 20cm (starting from the middle and ending at the bottom of the large bottle). Then, opposite this hole, make 2 small holes through which to thread the string.
The string is then used to tie the small bottle inside the large one, previously filled with grains and with the top twisted on. Turn the small bottle with the grain upside down, put it inside the large bottle and attach it with the string to keep it vertical. After unscrewing the top on the small bottle, the seeds will start to pour out onto the bottom of the large bottle. As the tits eat the food from the bottom of the large bottle, it will automatically keep refilling with seeds from the smaller bottle.
Apart from seeds and fruits, such as: linseed, pumpkin seeds, peanuts, sunflower seeds, wheat, oats, millet, hemp seeds, raisins, bacon is also a treat for tits. Adding hooks to your bird feeder, on which you can then hang pieces of bacon, will automatically change it into a tit feeder.

Bird feeders for balconies
If you live in a block of flats, and you do not have you own garden or yard, you can make a tit feeder for your balcony. There are no specific guidelines as to what such a feeder should look like. However, its size is important, as well as the place where you intend to put it.
The size of the feeder should not only be appropriate for the species of bird, but also the size of your balcony. After all, you don’t want the feeder to take up half of your balcony. So it’s usually better to make a small feeder in such cases. As for the location, you should put it in a place that allows you to enjoy watching the birds eat from behind the window, but without scaring them away.
Bird feeder for yards
The above space restrictions will not apply if you have the possibility of putting the bird feeder in the yard near your home. Without having to adapt the size to your balcony, you can build a large feeder or several feeders of various sizes, adapted to different species of birds. The bird feeder intended for placing in the yard also has the advantage that you can put it almost anywhere.
You can hang it on a branch, nail it to a tree, attach it to a building wall or mount it on a pole stuck in the ground. However, try to make sure the location is secluded and not popular with predators, such as cats. So not only knowing how to build a bird feeder is important, but also where to locate it.
How to make a bird feeder – summary
Feeding birds in winter is a lovely thing to do. Based on our advice, but also your own experience, imagination and the available materials, you will certainly be able to come up with your own, personalised design for the perfect bird feeder. As a result, your bird feeder will not only fulfil its primary function, but also decorate your balcony, yard or garden.


Share