Composite decking has long been a great alternative to wooden boards. Made from a combination of wood and plastic, composite decking is extremely durable and resistant to deformation, UV rays, rain and other weather conditions, as well as mold and fungus. Although it looks like wood, it is splinter and knot-free and doesn't change colour. Installing composite decking in your garden is a good idea, and also relatively easy.
Composite decking has long been a great alternative to wooden boards. Made from a combination of wood and plastic, composite decking is extremely durable and resistant to deformation, UV rays, rain and other weather conditions, as well as mold and fungus. Although it looks like wood, it is splinter and knot-free and doesn’t change colour. Installing composite decking in your garden is a good idea, and also relatively easy.
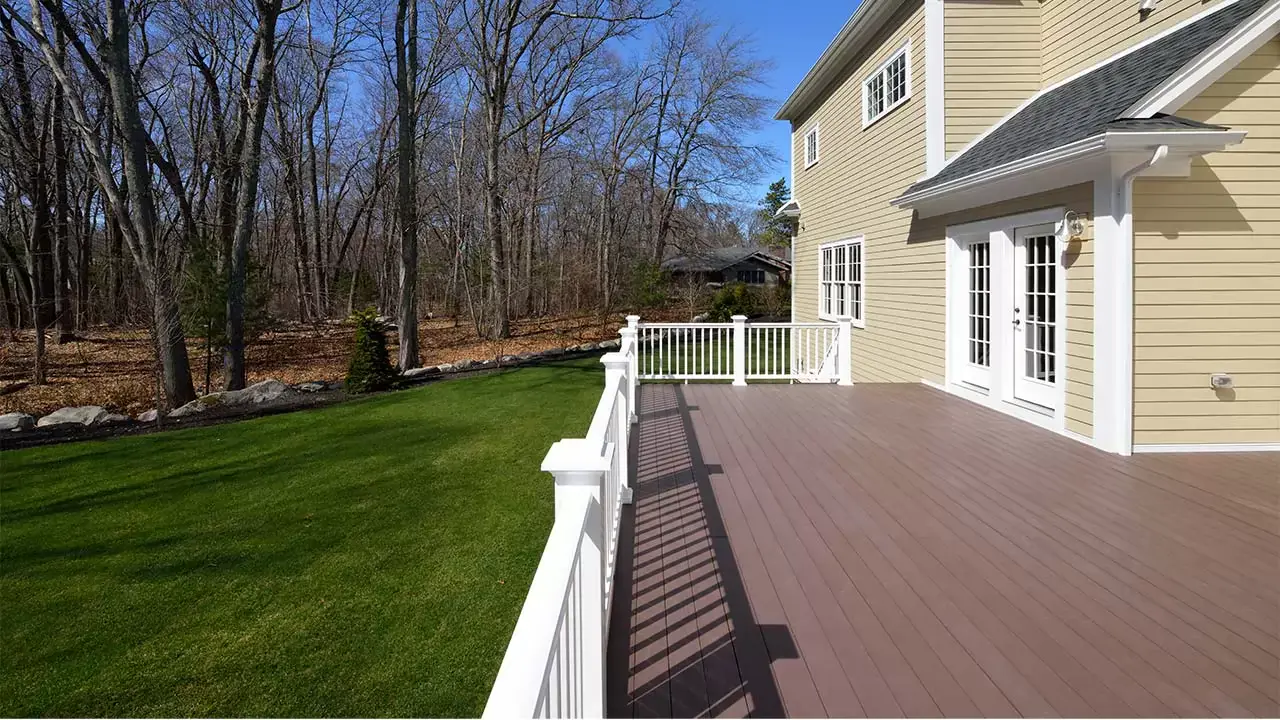
Garden composite decking
Before you start, do a little bit of research of what’s on offer. There are two types of composite decking available on the market, both with different prices and properties. The first type is made of PVC. It consists of no more than 50% wood flour, is resistant to mechanical damage and is not flammable. It is also the more expensive type of a composite decking on the market.
The second type are PP and HDPE composite decking. The biggest advantage is their lower price when compared to PVC decking. They contain up to 80% wood flour, making them less resistant to external weather conditions. They are also more likely to soak up moisture, affecting their durability. Additionally, at temperatures below 10 degrees Celsius they become brittle, and they become elastic when exposed to high temperatures.
In order to choose the right composite decking for your garden ask yourself a question – are you looking for a cheap or durable solution? Whichever option you choose, you then have to make another decision. This time, however, it is regarding the colour and texture of the boards. Before making your final choice, lay a few pieces next to each other to form a larger surface in order to get a closer feeling of the final outcome.
Composite decking can have two different types of surface (smooth and perforated), so it is also worth comparing this aspect before making your choice.
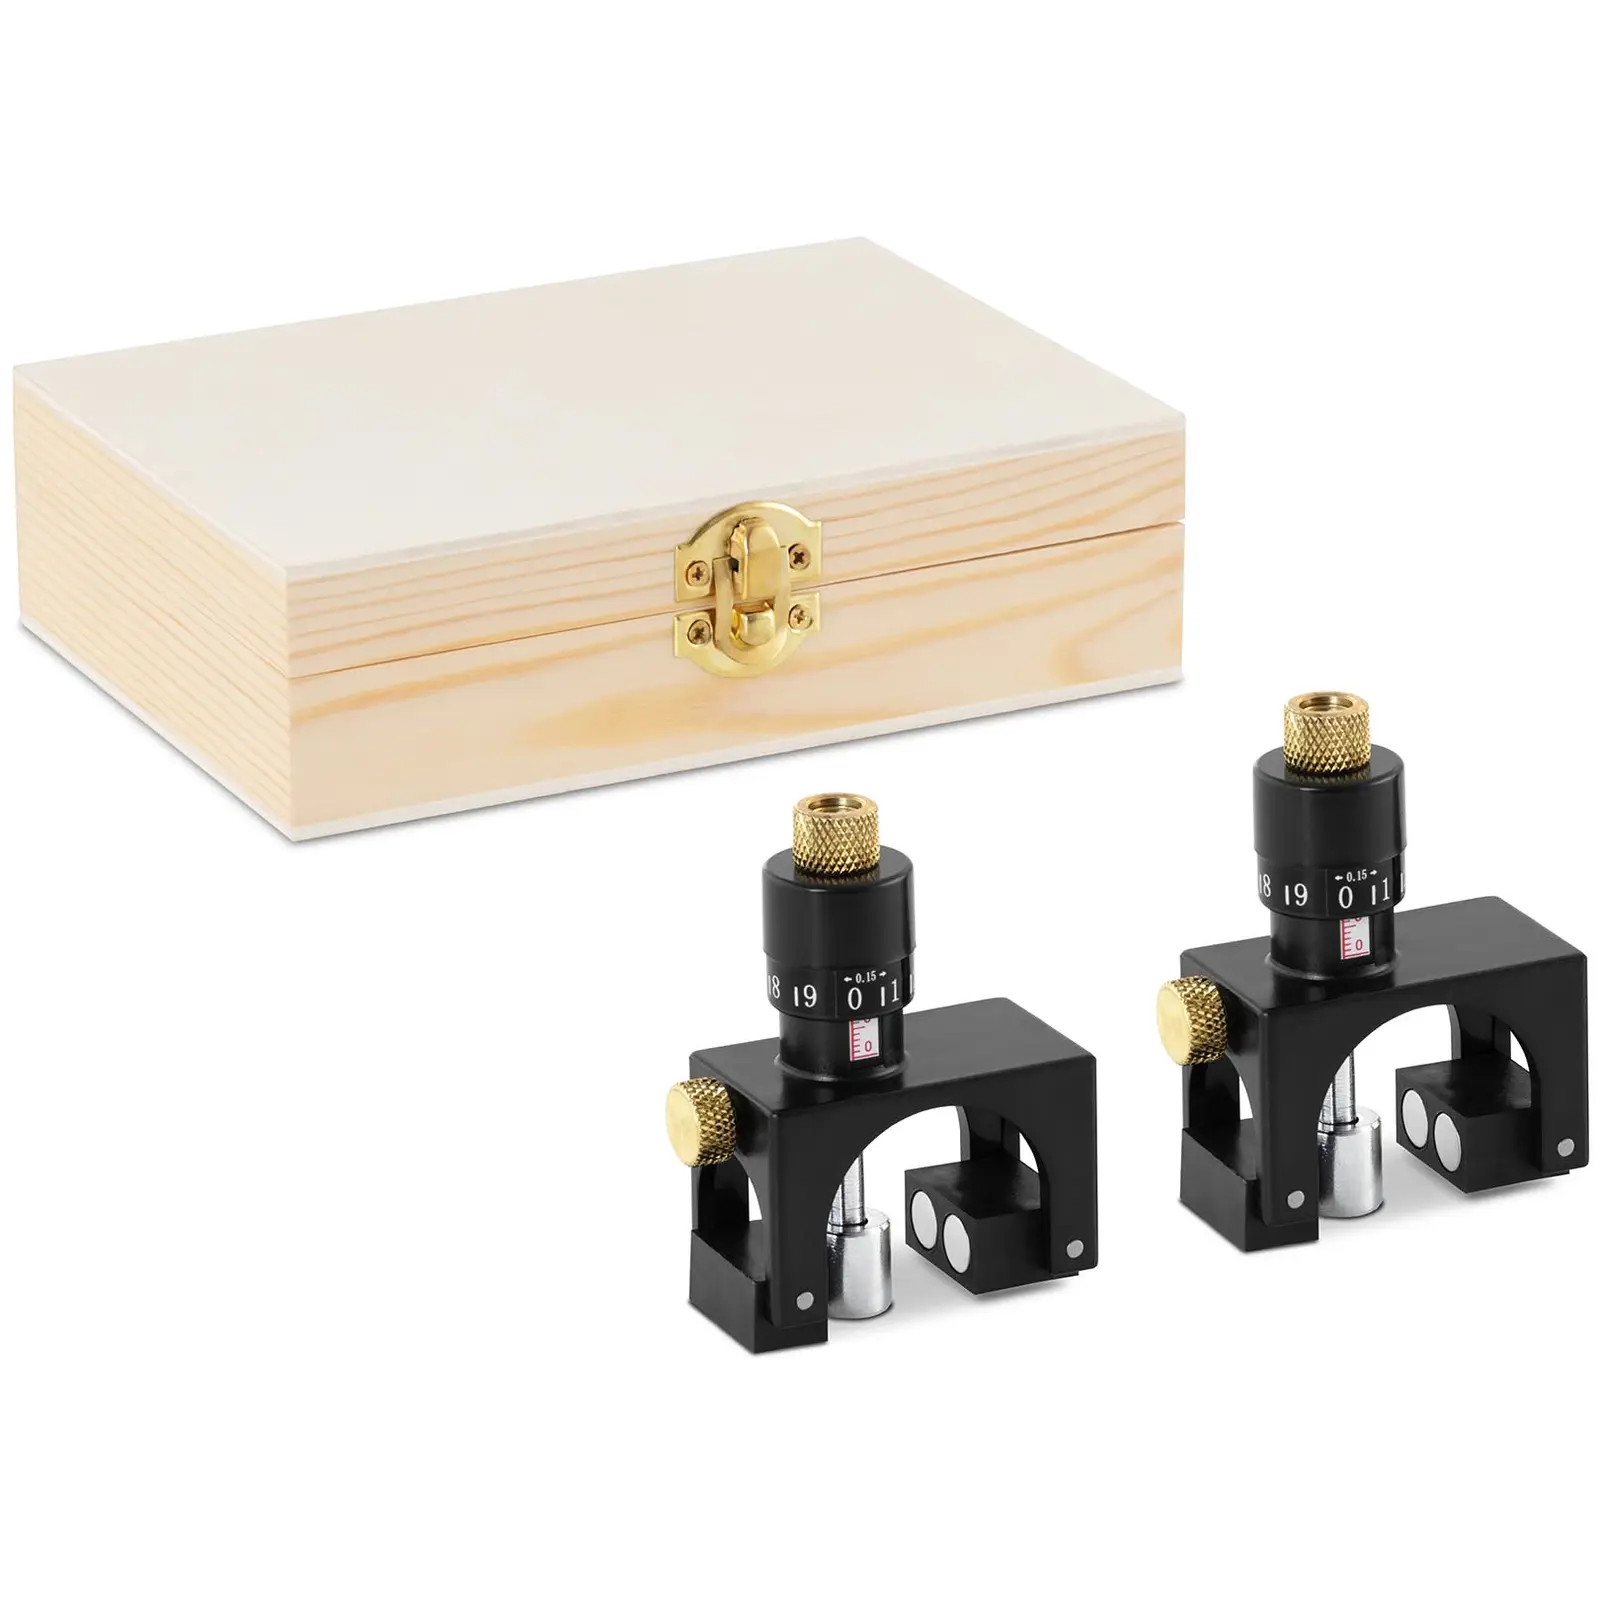
How to cut composite decking
Laying composite decking requires the use of appropriate tools, as with any other construction work. In the case of composite decking, you will generally need the same tools as you would when working on wooden boards. In addition to drilling, you will need to do some sawing.
How can you cut composite decking? Read on to find out. A jigsaw will come in handy for small details and precise cutting. For precise but straight cuts we would recommend a miter saw. The above mentioned equipment should be enough for us to get the job done. Of course you will also need something for measuring.


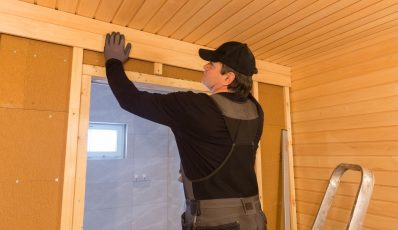
Installing composite decking
Once you have chosen the type, colour and texture of your composite decking, and made sure you have the basic tools you require, it’s time to get down to work. It may seem that you have a tough job ahead of you, but this might not necessarily be the case. Composite decking is made with high precision. You will be working with perfectly even edges and surfaces, as well as exactly the same shapes and little, if any, deformation.
Each piece will also have the same shade, so you will not waste time trying to match separate pieces together in order to avoid irregularities in the final appearance. On top of that, the cleverly-designed assembly systems means screws and nails are not clearly visible, as would be the case with wooden boards.
Laying composite decking
Composite decking is usually fixed onto a joist sub-frame The joists, which can be made of either composite or wood, are placed on plastic wedges or special supports. However, before laying your composite decking, you should check a few things to make sure you are happy with the outcome. Place all the decking material on the surface it will be covering, paying attention to any elements you will later need to take into consideration.
These could be various types of recesses, pillars, built-in flower pots etc., which you should take into consideration when planning the whole construction. You should also make sure that the last piece you install fits perfectly with the edge of the surface you will be covering. Otherwise, you will need to cut along the axis, and as composite decking is hollow, you will additionally need to use a masking strip to cover the cut area.
You should also remember to carefully check the ground under the sub-frame and make sure it is perfectly even. The easiest way to do this is to use pads to even out any differences when laying the joists. Of course you can also level the area with concrete or use any other effective method that does the trick. Regardless of the method you choose, you should try to have a slight decline outwards on the sub-frame, in order for water to drain off, e.g. rainwater or when cleaning the decking.
Once you have everything properly planned, the next step is to arrange the joists and fix them firmly to the ground (we recommend using dowels to do so). You can now start the actual laying of the composite decking itself. However, remember to keep the same distances for the whole surface, otherwise the end result might look sloppy.


Fixing composite decking
Lay the decking out on the joists and attach it with specially designated clips. This method means you won’t need to use nails or screws, and the connection will be both solid and invisible. Fixing the composite decking is therefore incredibly simple and is much less time-consuming than in the case of wooden boards. However, keep in mind that each manufacturer will probably use different joining clips, so they will not be compatible with products of other manufacturers.
Of course, you could always use nails or screws, but it would be pointless, since not are they not necessary and also they would be clearly visible, ruining the attractive appearance of composite decking.
Connecting decking boards
When fixing the decking, remember to leave minimum 5 mm gaps where the decking boards are connected. This will create channels that will allow rainwater to drain. The decking board connections should each be held together by a separate connector on each particular joist.
The distance between decking joists
We have now covered the most important issues related to the laying, fixing and connecting of composite decking boards, so let’s have a look at how to arrange the joists. This requires certain knowledge, which will influence the future durability of our decking. The main question is – what should the distance be between the joists? The answer is quite simple – as dense as possible but not exceeding a maximum distance of 40 – 50 cm.
Larger distances may result in damage to the decking boards under the weight of people walking on them. This can of course lead to permanent deformation of the composite substrate, or even damage it. If you have any doubts as to whether the spacing between the joists is sufficient, you might want to install another one between them just in case.


Decking board clips
Earlier on we discussed the connection method allowing quick and easy assembly. These decking board connection clips come in two types – as starter clips and stainless steel clips. The first type is used at the beginning of construction, when laying the first boards. The latter is used for connecting decking boards to each other.
This method is very convenient and significantly simplifies the process of installing composite decking.
Composite stairs
Composite decking is perfect for outdoor use. You can even use it for frequently used surfaces, such as steps. If you already have composite decking outside, then combining it with steps finished in the same style will give it a harmonious, truly effective finish.
Composite decking boards will also give the entrance steps to your home a special look. Their non-slip surface significantly enhances safety, especially if you have elderly family members or children at home.
As in the case of standard decking boards, installation in the case of steps is also very easy. The most important thing here is to make sure the steps have an ideally flat surface. The composite boards must stick to them perfectly. The concrete surface should be carefully prepared with a very delicate slope, allowing rainwater to drain.
For example, let’s look at a staircase with a riser of 17.5 cm and a tread of 31-33 cm. Fix the joists vertically by the riser and horizontally on the tread. If necessary, cut them to the appropriate length, and then, using expansion bolts, attach them to the concrete steps. The distance between the installed joists, as in the case of the floor, should be 40 cm. You can also place them at the ends of steps, which protects them and ensures support for the composite boards on top of them.
Installing composite decking – summary
As you can now see, composite decking is an ideal alternative to standard wooden boards. Not only are they more durable, but they are also much easier to look after on a daily basis. Composite decking boards have smooth edges, are free of splinters, rings and discolouration, and are easy to install. These features make installing composite decking a very easy process.
Composite decking does not require renewing, using paint or protective varnishes. It is not affected by weather conditions, does not scratch easily, and is resistant to mechanical damage. So if you are looking for an effective and at the same time durable alternative to wood, then why not build your terrace, veranda or even balcony using composite decking.
By browsing through the choice of options available on the market, you can be sure to find the perfect colour and texture of your composite decking. Follow our advice and you will be able to create the perfect space for relaxation, meetings with friends or family get-togethers.


Share